Overview
The Workflows module in Arkan provides a centralized hub for managing approval processes across your project. All submittals, inspections, RFIs, and other request types flow through configurable workflow sequences that route items between groups and users for review and action. The module is organized into four tabs -- Process Workflow, Follow-up Workflow, Delegation Workflow, and Delegation Requests -- each serving a distinct role in the approval lifecycle.
Prerequisites
Before working with workflows, ensure the following:
- You have logged in and selected a project (see Getting Started)
- Your user role has the appropriate workflow permissions granted by an administrator
- Workflow sequences and groups have been configured in project settings (see Workflow Settings Configuration below)
- For delegation features, the delegation module must be enabled for your project
Navigating to Workflows
- Navigate to Sidebar > Workflow.
- The system loads the Workflows page at
/workflows, defaulting to the Process Workflow tab.
The page header displays the "Workflows" title, a subtitle reading "Manage your project workflows," your project name badge, and a pending tasks badge showing the count of items awaiting action.
Tip: If you see an "Access Denied" message with a lock icon, contact your administrator to grant you the required workflow permissions.
Tab Navigation
The Workflows page provides four tabs, each accessible via the tab navigation bar below the header:
| Tab | Description |
|---|---|
| Process Workflow | Active workflow items assigned to you for action |
| Follow-up Workflow | Items you have submitted or are tracking through the process |
| Delegation Workflow | Manage which users can act on your behalf |
| Delegation Requests | Incoming delegation requests requiring your approval |
Each tab displays a badge count when there are items requiring attention.
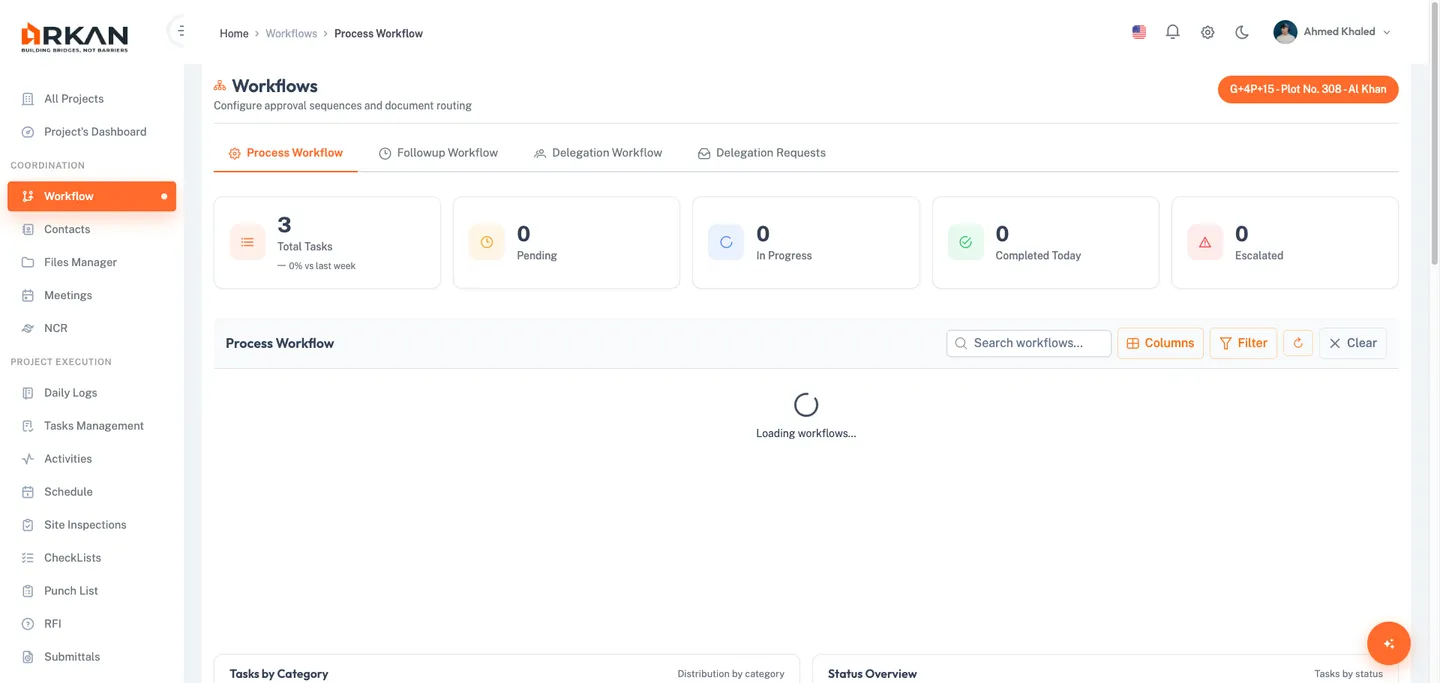
Process Workflow
The Process Workflow tab displays all workflow items currently assigned to your group for action. This is your primary task queue.
Viewing Process Workflows
- Navigate to Sidebar > Workflow.
- Click the Process Workflow tab (selected by default).
- Review the metrics cards at the top showing total workflows and breakdowns by status and category.
The grid loads with all pending workflow items assigned to your user or group.

Metrics Dashboard
At the top of the Process Workflow tab, summary metric cards display:
- Total Workflows -- the overall count of items in your queue
- By Status -- breakdown of items by their current workflow status
- By Category -- breakdown of items by request category
Toolbar Controls
The toolbar above the grid provides the following controls:
| Control | Description |
|---|---|
| Title + Count Badge | Shows "Process Workflow" with the total number of items |
| Search Box | Real-time text search across all visible columns; includes a clear button |
| Columns | Opens the Column Chooser panel to show or hide grid columns |
| Filter | Opens the advanced filter dialog |
| Refresh | Reloads the grid data from the server |
| Clear | Resets all filters and search criteria |
Customizing Grid Columns
- Click the Columns button in the toolbar.
- The Column Chooser panel opens with three sections:
- Core Columns (always visible, locked): Request Type, Current Sequence, Current Group
- Default Columns (toggleable): Main Workflow Sequence, Request Number, Category, Request Date, From User, Action, From Group, From Sequence, Locked By, Notes, Escalated
- Additional Columns (hidden by default): extra detail columns
- Toggle the checkbox next to any default or additional column to show or hide it.
- Click Reset to restore the default column configuration.
The grid updates immediately to reflect your column visibility choices.
Grid Columns Reference
| Column | Description |
|---|---|
| Request Type Description | The type of request (e.g., Submittal, Inspection, RFI) |
| Main Workflow Sequence | The primary sequence this item belongs to |
| Request Number | The unique identifier for the request |
| Request Category | The category or subcategory of the request |
| Request Date | When the request was submitted |
| Current Sequence | The workflow sequence currently processing the item |
| Current Group | The group currently responsible for action |
| From User | The user who forwarded the item |
| Action | The last action taken on the item |
| From Group | The group that forwarded the item |
| From Sequence | The sequence that forwarded the item |
| Locked By | The user who has locked the item for editing |
| Notes | Workflow notes or comments |
| Escalated | Shows "Yes" or "No" badge indicating if the item has been auto-escalated |
Grid Features
- Grouping -- Drag a column header to the grouping area to group rows by that column. Group headers show the group value and item count.
- Sorting -- Click any column header to sort ascending or descending.
- Resizing -- Drag column borders to adjust column widths.
- Reordering -- Drag column headers to rearrange column order.
- Pagination -- Choose from 5, 10, 20, 50, or 100 items per page, or enter a custom page size (1-1000).
- Column Menu -- Right-click a column header for filtering and sorting options.
Row Actions
Each row in the grid provides three action buttons:
- View Request (eye icon) -- Opens the original request (submittal, inspection, etc.) in a preview.
- View History (clock icon) -- Opens the Workflow History dialog showing the complete approval trail.
- Take Action (lock-open icon) -- Locks the record for your exclusive editing and opens the action panel.
Taking Action on a Workflow Item
- Click the Take Action button (lock-open icon) on the desired row.
- The system locks the record to prevent other users from acting simultaneously.
- The Workflow Action panel displays with the following fields:
- Comments -- Enter notes or remarks about your decision.
- Workflow Action -- Select the action to take (e.g., Approve, Reject, Forward).
- Destination Group -- Select the next group to receive the item (hidden when rejecting).
- Output Status -- Select the final status if this is the end of the sequence.
- Next Sequence -- Select the next sequence if forwarding beyond the current one.
- Delegate To -- Select a delegated user if delegation is active.
- Optionally click the Recommendations button to view or add recommendations. The badge shows the current recommendation count.
- Expand the History accordion to review the full workflow history inline.
- Submit your action.
The workflow item moves to the next step in the approval chain based on your action.

Warning: Once you lock a record with Take Action, other users cannot act on it until you release it. Complete your action promptly to avoid blocking the workflow.
Filtering Workflows
- Click the Filter button in the toolbar.
- The Filter dialog opens with the following fields:
- Request Type -- Select from a filterable combobox of available request types.
- Request Category -- Select a category (options depend on the selected request type).
- Delegated By -- Filter by the delegating user.
- Request Number -- Enter a specific request number.
- From Date / To Date -- Define a date range.
- Click Search to apply filters, Reset to clear all fields, or Cancel to close.
The grid refreshes to show only items matching your filter criteria.
Analytics Charts
Below the grid, three charts provide visual analytics:
- Workflows by Category -- Distribution of items across request categories
- Status Overview -- Breakdown of items by current status
- Weekly Processing Trend -- Processing volume trend over recent weeks
Exporting Data
The summary section below the charts provides export options:
- Click CSV, Excel, or PDF to export the current grid data in your preferred format.
The file downloads to your local machine with the current filter and sort settings applied.
Follow-up Workflow
The Follow-up Workflow tab lets you track items you have submitted or are responsible for, regardless of where they currently sit in the approval chain.
Viewing Follow-up Workflows
- Navigate to Sidebar > Workflow.
- Click the Follow-up Workflow tab.
- Toggle between Under Process and Finished sub-tabs to view active or completed items.
The status indicator in the toolbar shows whether you are viewing items that are "Under Process" or "Finished."
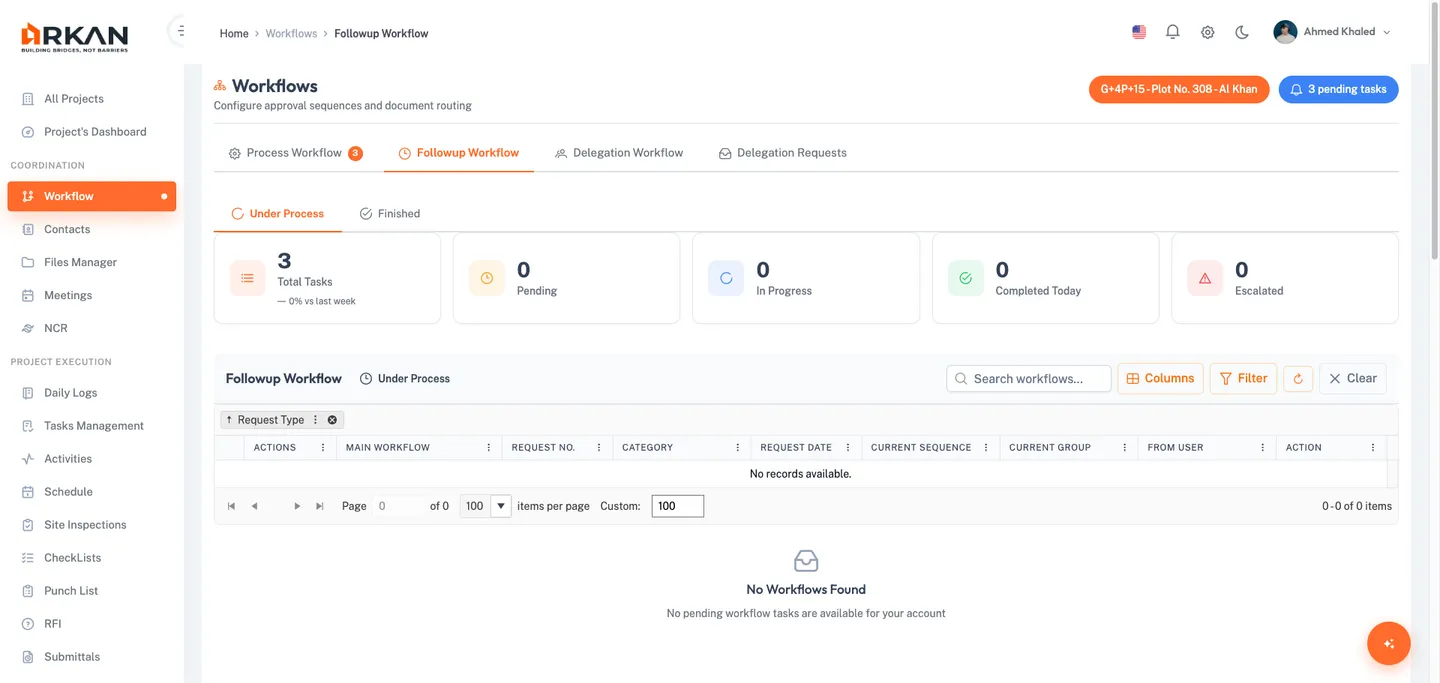
Sub-Tab Navigation
| Sub-Tab | Description |
|---|---|
| Under Process | Items currently moving through the approval chain |
| Finished | Items that have completed the entire workflow |
Toolbar and Grid
The Follow-up Workflow shares the same toolbar structure as Process Workflow, including:
- Real-time search with clear button
- Column Chooser with core, default, and additional column sections
- Filter, Refresh, and Clear buttons
- Identical grid columns (Request Type, Main Workflow Sequence, Request Number, Category, Request Date, Current Sequence, Current Group, From User, Action, From Group, From Sequence, Notes, Escalated)
Row Actions
Each row provides two action buttons:
- View Request (eye icon) -- Opens the original request in a preview.
- View History (clock icon) -- Opens the Workflow History dialog. If recommendations are enabled for the request type, the history dialog also displays recommendation data.
Filtering Follow-up Workflows
- Click the Filter button in the toolbar.
- The Filter dialog provides:
- Request Type (filterable combobox)
- Request Category (depends on selected type)
- From Date / To Date (date range)
- Request Number (numeric input)
- Click Search to apply, Reset to clear, or Cancel to close.
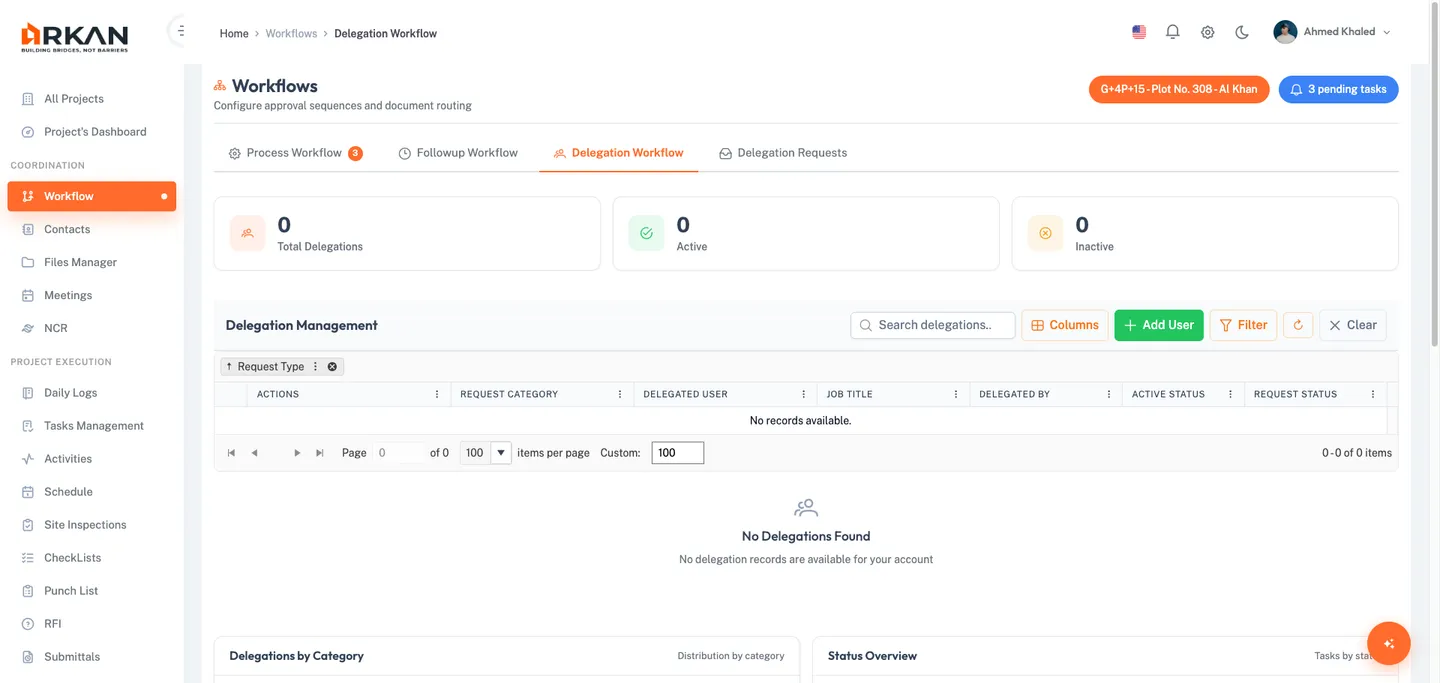
Delegation Workflow
The Delegation Workflow tab allows you to manage which users are authorized to act on your behalf for specific request types.
Viewing Delegations
- Navigate to Sidebar > Workflow.
- Click the Delegation Workflow tab.
- Review the metrics cards and the delegation grid.
The grid displays all configured delegation assignments for your account.
Adding a Delegated User
- Click the Add User button (green, visible only if you have the required permission).
- The Add Delegated User dialog opens.
- Fill in the required fields:
- Request Subcategory -- Select the request subcategory this delegation applies to (required, filterable combobox).
- Delegated Users -- Select one or more users to delegate to (required, filterable multi-select).
- Click Save to create the delegation, or Close to cancel.
The new delegation record appears in the grid with a "No Request" status.
Tip: You can delegate to multiple users at once by selecting several names in the Delegated Users multi-select field.
Delegation Grid Columns
| Column | Description |
|---|---|
| Request Type | The type of request the delegation covers |
| Request Category | The specific category within the request type |
| Delegated User Name | The user who has been granted delegation authority |
| Job Title | The job title of the delegated user |
| Delegated By | The user who created the delegation |
| Active Status | Toggle switch to activate or deactivate the delegation |
| Request Status | Badge showing: "No Request" (gray), "Under Process" (amber), or "Approved" (green) |
Row Actions for Delegations
| Action | Icon | Visibility | Description |
|---|---|---|---|
| Log History | Clock | Always | View the activity log for this delegation |
| Request History | File | Always | View the request processing history |
| Request Delegation | Checkmark | When status is "No Request" | Submit a delegation request for approval |
| Cancel Request | X | When status is "Under Process" | Cancel a pending delegation request |
Activating or Deactivating a Delegation
- Locate the delegation row in the grid.
- Toggle the switch in the Active Status column.
The delegation status updates immediately. Inactive delegations prevent the delegated user from acting on your behalf.
Delegation Requests
The Delegation Requests tab shows delegation requests that have been sent to you for approval or that you need to act upon.
Viewing Delegation Requests
- Navigate to Sidebar > Workflow.
- Click the Delegation Requests tab.
- The page displays a header with the title, subtitle, and request count badge.
Delegation requests are organized into two sub-tabs: Under Process and Completed.
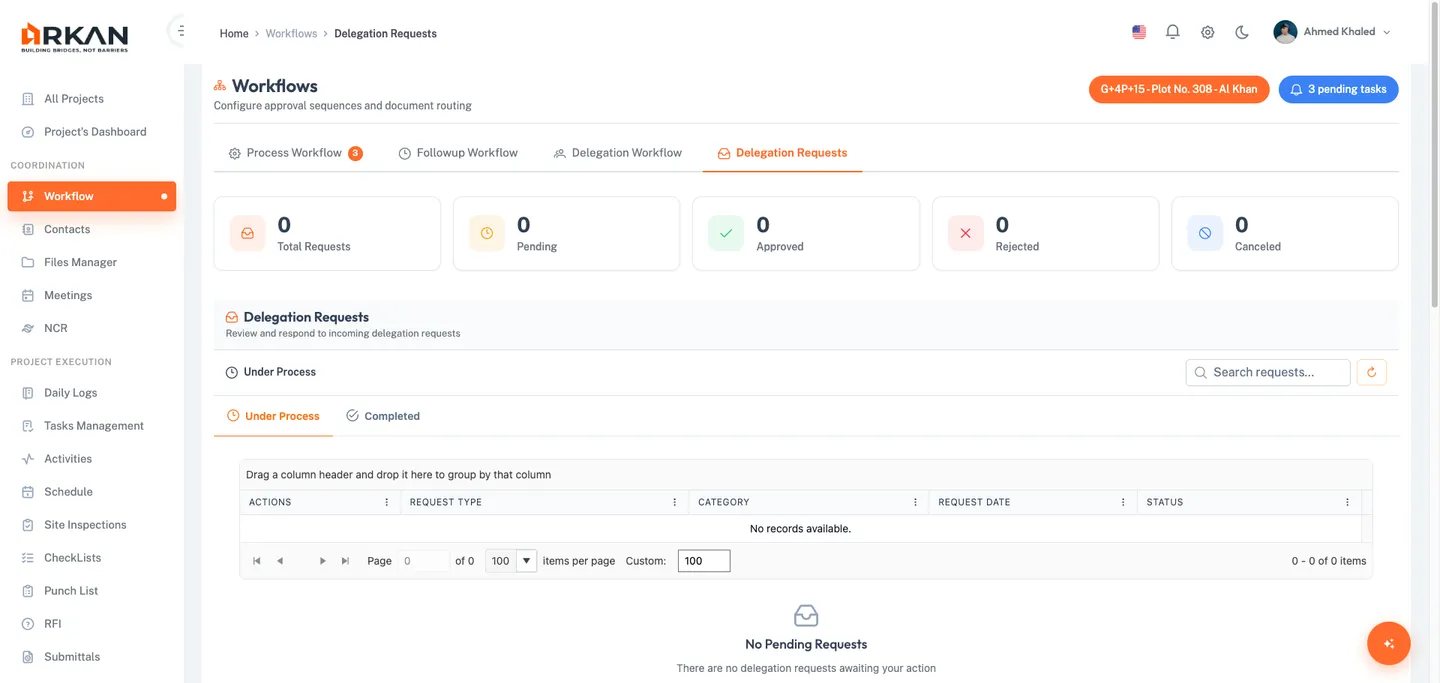
Sub-Tabs
| Sub-Tab | Badge | Description |
|---|---|---|
| Under Process | Pending count | Requests awaiting your action |
| Completed | Completed count | Requests you have already acted on |
Under Process Grid Columns
| Column | Description |
|---|---|
| Actions | Take Action button (cog icon) for pending items |
| Request Type | The type of request being delegated |
| Category | The request category (or "-" if none) |
| Request Date | When the delegation request was submitted |
| Status | Color-coded status badge |
Completed Grid Columns
The Completed tab includes the same columns as Under Process, plus:
| Column | Description |
|---|---|
| Action Date | When you took action on the request |
Taking Action on a Delegation Request
- Switch to the Under Process sub-tab.
- Click the Take Action button (cog icon) on the desired request row.
- The Delegation Action dialog opens.
- Review the request details and choose to approve or reject.
- Submit your decision.
The request moves to the Completed tab and the delegation becomes active (if approved).
Workflow History Dialog
The Workflow History dialog is accessible from both the Process Workflow and Follow-up Workflow tabs. It provides a complete audit trail of every action taken on a workflow item.
Viewing Workflow History
- Click the View History button (clock icon) on any workflow row.
- The history dialog opens showing a chronological list of all actions, including:
- User who performed each action
- Action taken (Approve, Reject, Forward, etc.)
- Date and time of each action
- Notes or comments entered at each step
- Group and sequence information
- If recommendations are enabled, the dialog also displays recommendation data.
- Click Close to dismiss the dialog.
Workflow Settings Configuration
Workflow sequences and groups are configured through the Project Template Wizard, accessible from project settings.
Accessing Workflow Settings
- Navigate to Project Settings > Workflows.
- The settings are organized across multiple tabs: Workflow Sequence, Companies Sequence, and Request Subcategory.
Step 1: Configuring Workflow Sequences
- In the Project Template Wizard, navigate to the Workflow Sequence step.
- Click Add New Sequence to create a new workflow sequence.
- The Create Sequence dialog opens with the following fields:
- Sequence Name (required) -- Enter a descriptive name for the sequence.
- Company Type (required) -- Select the company type from the dropdown.
- In Status (required) -- Select the incoming status from the dropdown.
- Out Status (required) -- Select one or more outgoing statuses using the multi-select.
- Return Out Status (optional) -- Select return statuses using the multi-select.
- Details (optional) -- Enter additional notes in the textarea.
- Click Save to create the sequence, or Cancel to discard.
The new sequence appears in the paginated grid.
Configuring Sequence Nodes
Each sequence row provides two configuration buttons:
- Tree Editor -- Opens the visual tree editor where you can define the approval routing hierarchy by adding nodes.
- View Tree -- Opens a read-only view of the current sequence tree structure.
Adding a Workflow Node
- Click Tree Editor on a sequence row.
- In the tree editor, add a new node. The Workflow Node Configuration dialog opens with:
- Company Type (required) -- Select the company type from a filterable dropdown.
- Company (required) -- Select the company; options depend on the selected company type.
- Company Sequence (required) -- Select the sequence; options depend on the selected company.
- Elapsed Time Type (conditional) -- Appears after selecting a company type. Select the time measurement type (e.g., hours, days).
- Elapsed Time Value (conditional) -- Appears after selecting an elapsed time type. Enter the numeric duration for auto-escalation.
- Click Save to add the node, or Close to cancel.
The node is added to the sequence tree and defines how items route through that step of the approval process.
Tip: The Elapsed Time Type and Elapsed Time Value fields enable automatic escalation. When the specified time elapses without action, the system escalates the item to the next level.
Step 2: Configuring Workflow Groups
- In the Project Template Wizard, navigate to the Workflow Groups step.
- Click Add New Group to create a new workflow group.
- The Create Group dialog opens with:
- Group Name (required) -- Enter the name for the group.
- Company Type (required) -- Select the company type from the dropdown.
- Click Save to create the group, or Cancel to discard.
The new group appears in the paginated grid with edit and delete action buttons.
Troubleshooting
| Issue | Possible Cause | Solution |
|---|---|---|
| "Access Denied" message appears | Insufficient permissions | Contact your administrator to grant workflow access permissions |
| No items appear in Process Workflow | No pending items assigned to your group | Check Follow-up Workflow to verify items are in the pipeline; confirm your group assignment with your administrator |
| Take Action button does not respond | Another user has locked the record | Wait for the other user to release the lock, or contact your administrator to force-release it |
| Delegation toggle does not save | Network or permission issue | Refresh the page and try again; confirm you have delegation management permission |
| Filter returns no results | Criteria too restrictive | Reset the filter and broaden your search; verify the date range is correct |
| Column Chooser does not show expected columns | Columns may be in Additional section | Scroll down in the Column Chooser panel to the Additional Columns section |
| Export produces empty file | Grid has no data matching current filters | Clear all filters and try exporting again |
| Workflow history is empty | Item was just created | The history populates after the first action is taken on the item |
| "No Request" status on delegation | Delegation request has not been submitted | Click the Request Delegation (checkmark) button to submit the request |
| Escalated badge shows "Yes" | Item exceeded the configured elapsed time | Review and act on the item promptly; consider adjusting elapsed time settings |
Next: Documents & Files
Back to: Help Center